


Over the last couple decades bull-nose, or rounded corners have become increasingly popular. They don’t seem to get broken as often and they soften the transition between areas. The challenge becomes when you want to change the color on some areas and not others. How do you create the clean, crisp corner on something without a clean, crisp edge to follow? The key is using the light to create the ‘line’ you need to follow. For our demonstration we’ll be using FrogTape brand adhesive – it gives a much cleaner edge than traditional blue tape.
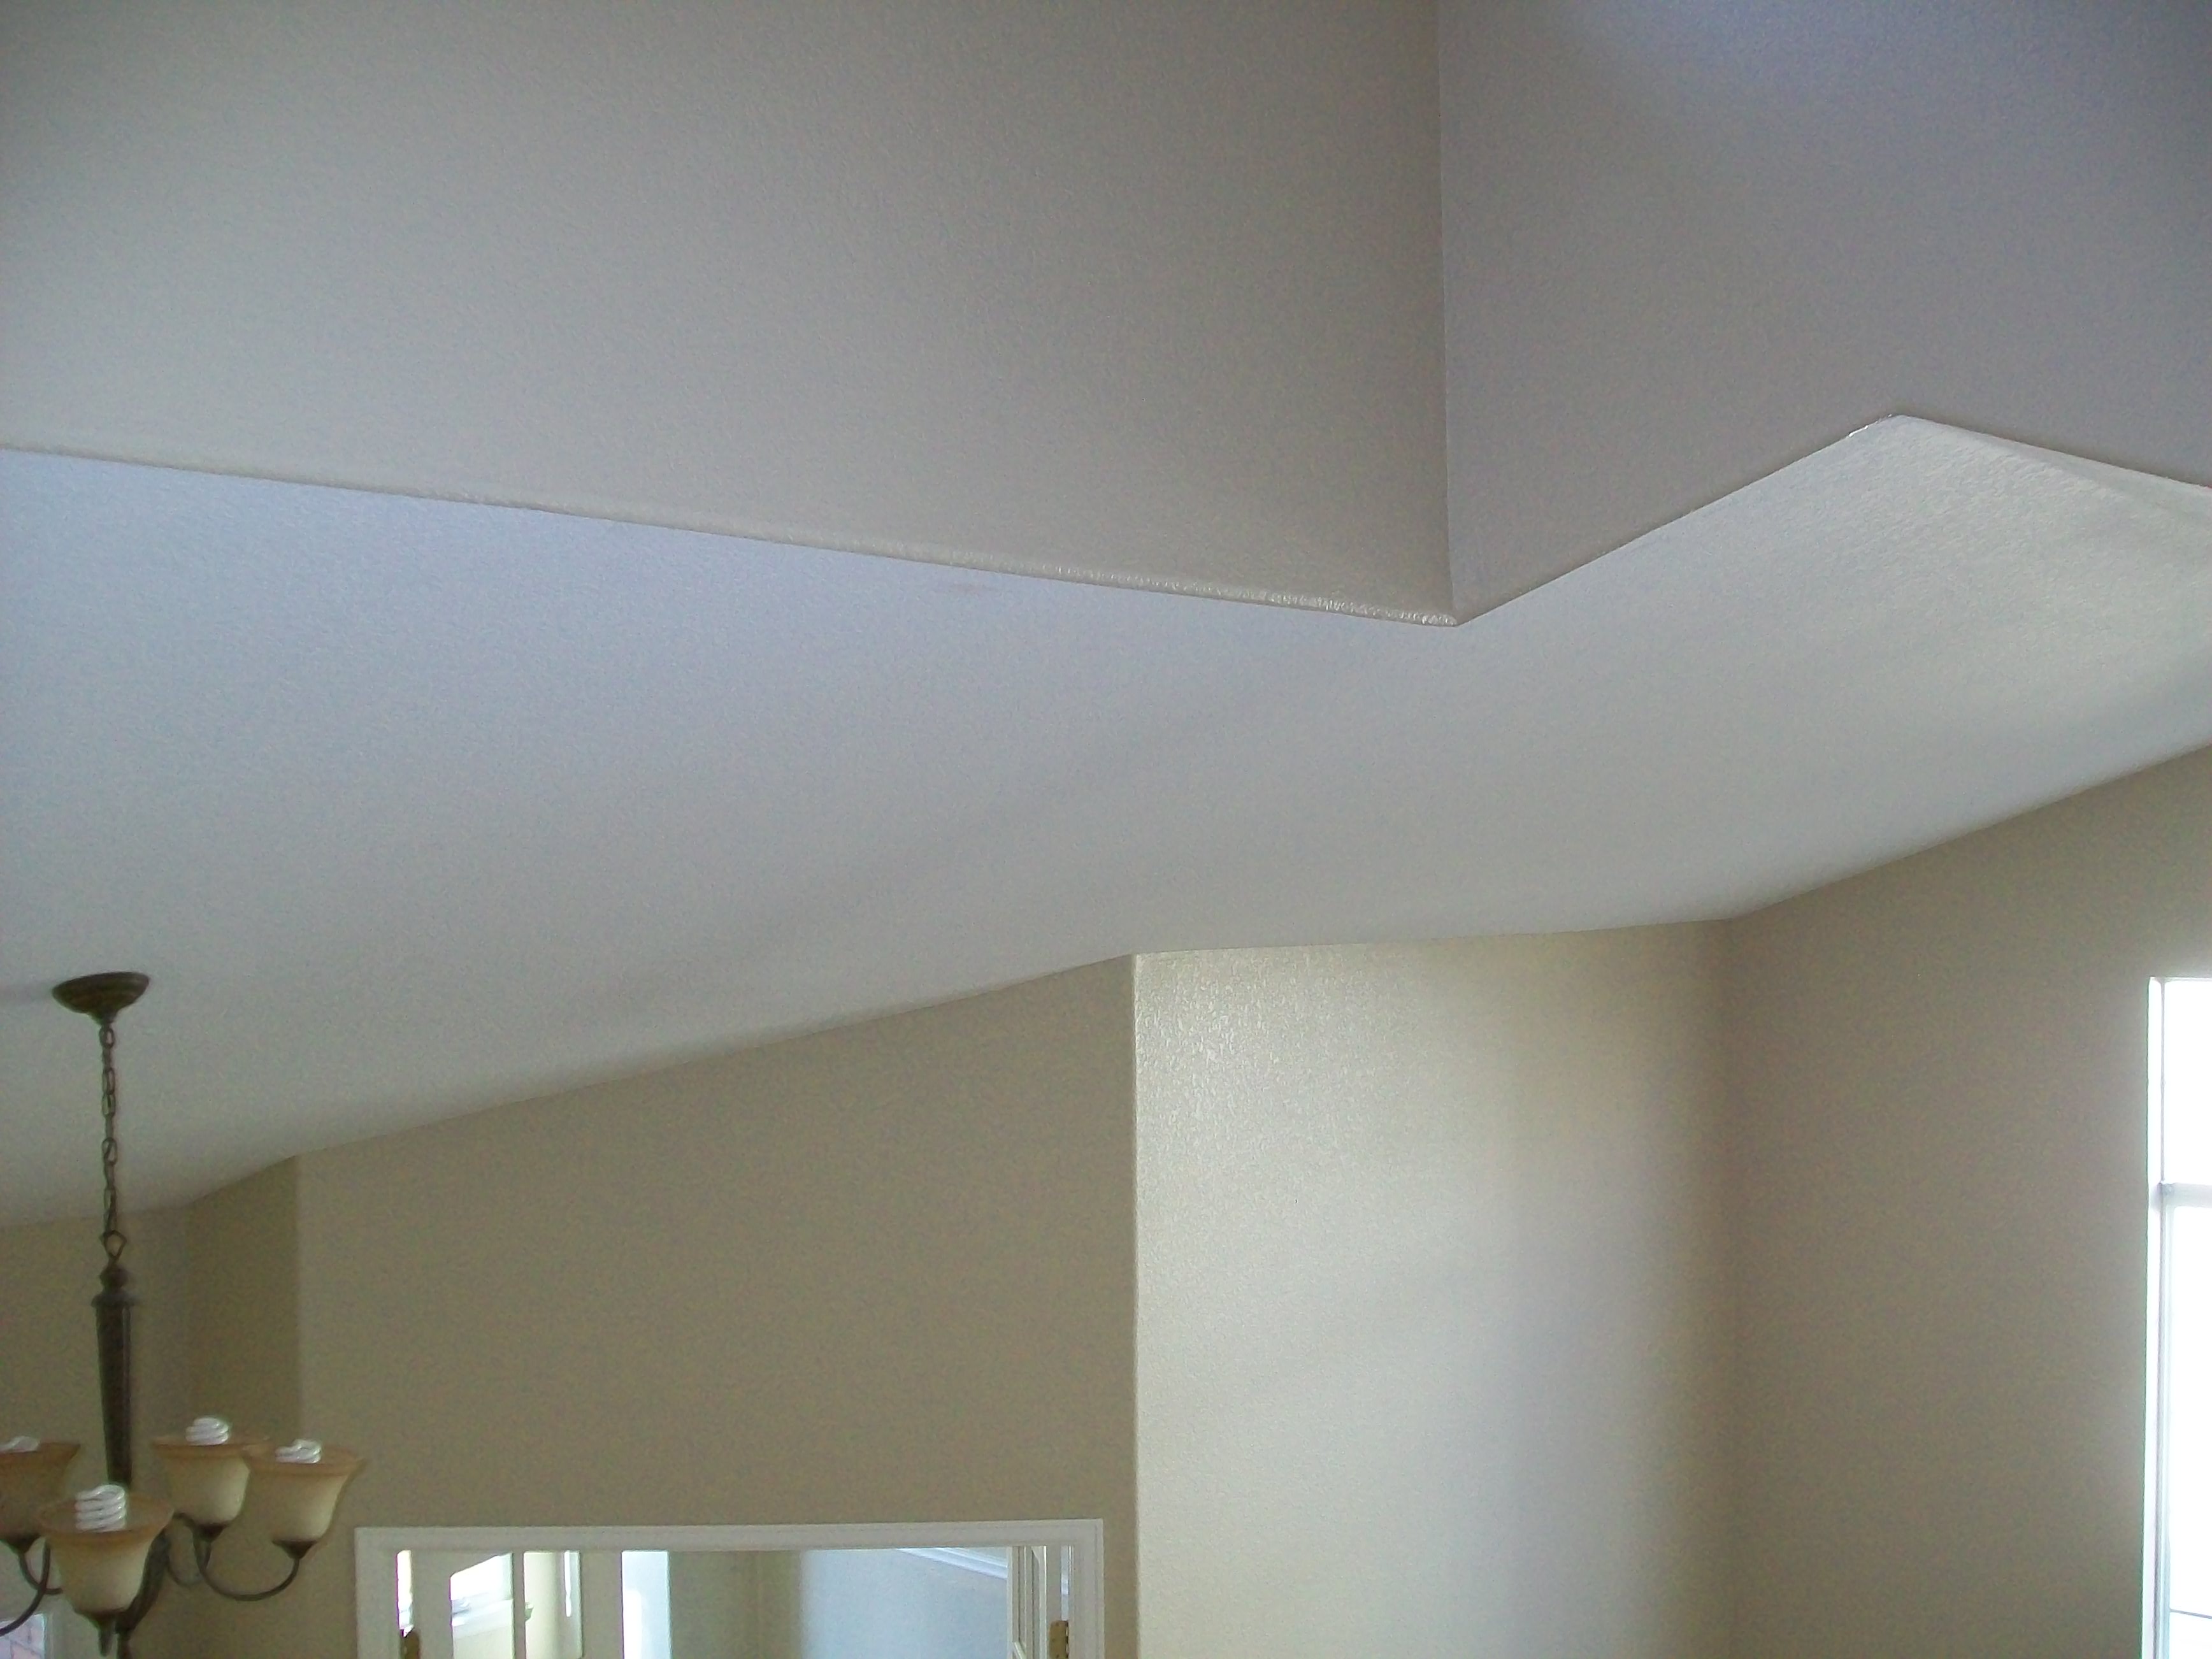
Wrapping the color around the corner on a bull-nose ceiling line
One of the most common mistakes we see – from homeowners and professionals alike – is trying to split the corner in two with the colors. On square corners this is how you differentiate between the two walls but on bull-nose corners there are actually three parts to the transition – the two walls plus the corner itself – and based on lighting and architecture your mind’s eye will automatically assign the bull-nose to one wall or the other. Take the above picture, for example: We painted the wall color around the corner to make it part of the wall. The outcome is a ceiling line that looks square on a rounded corner. 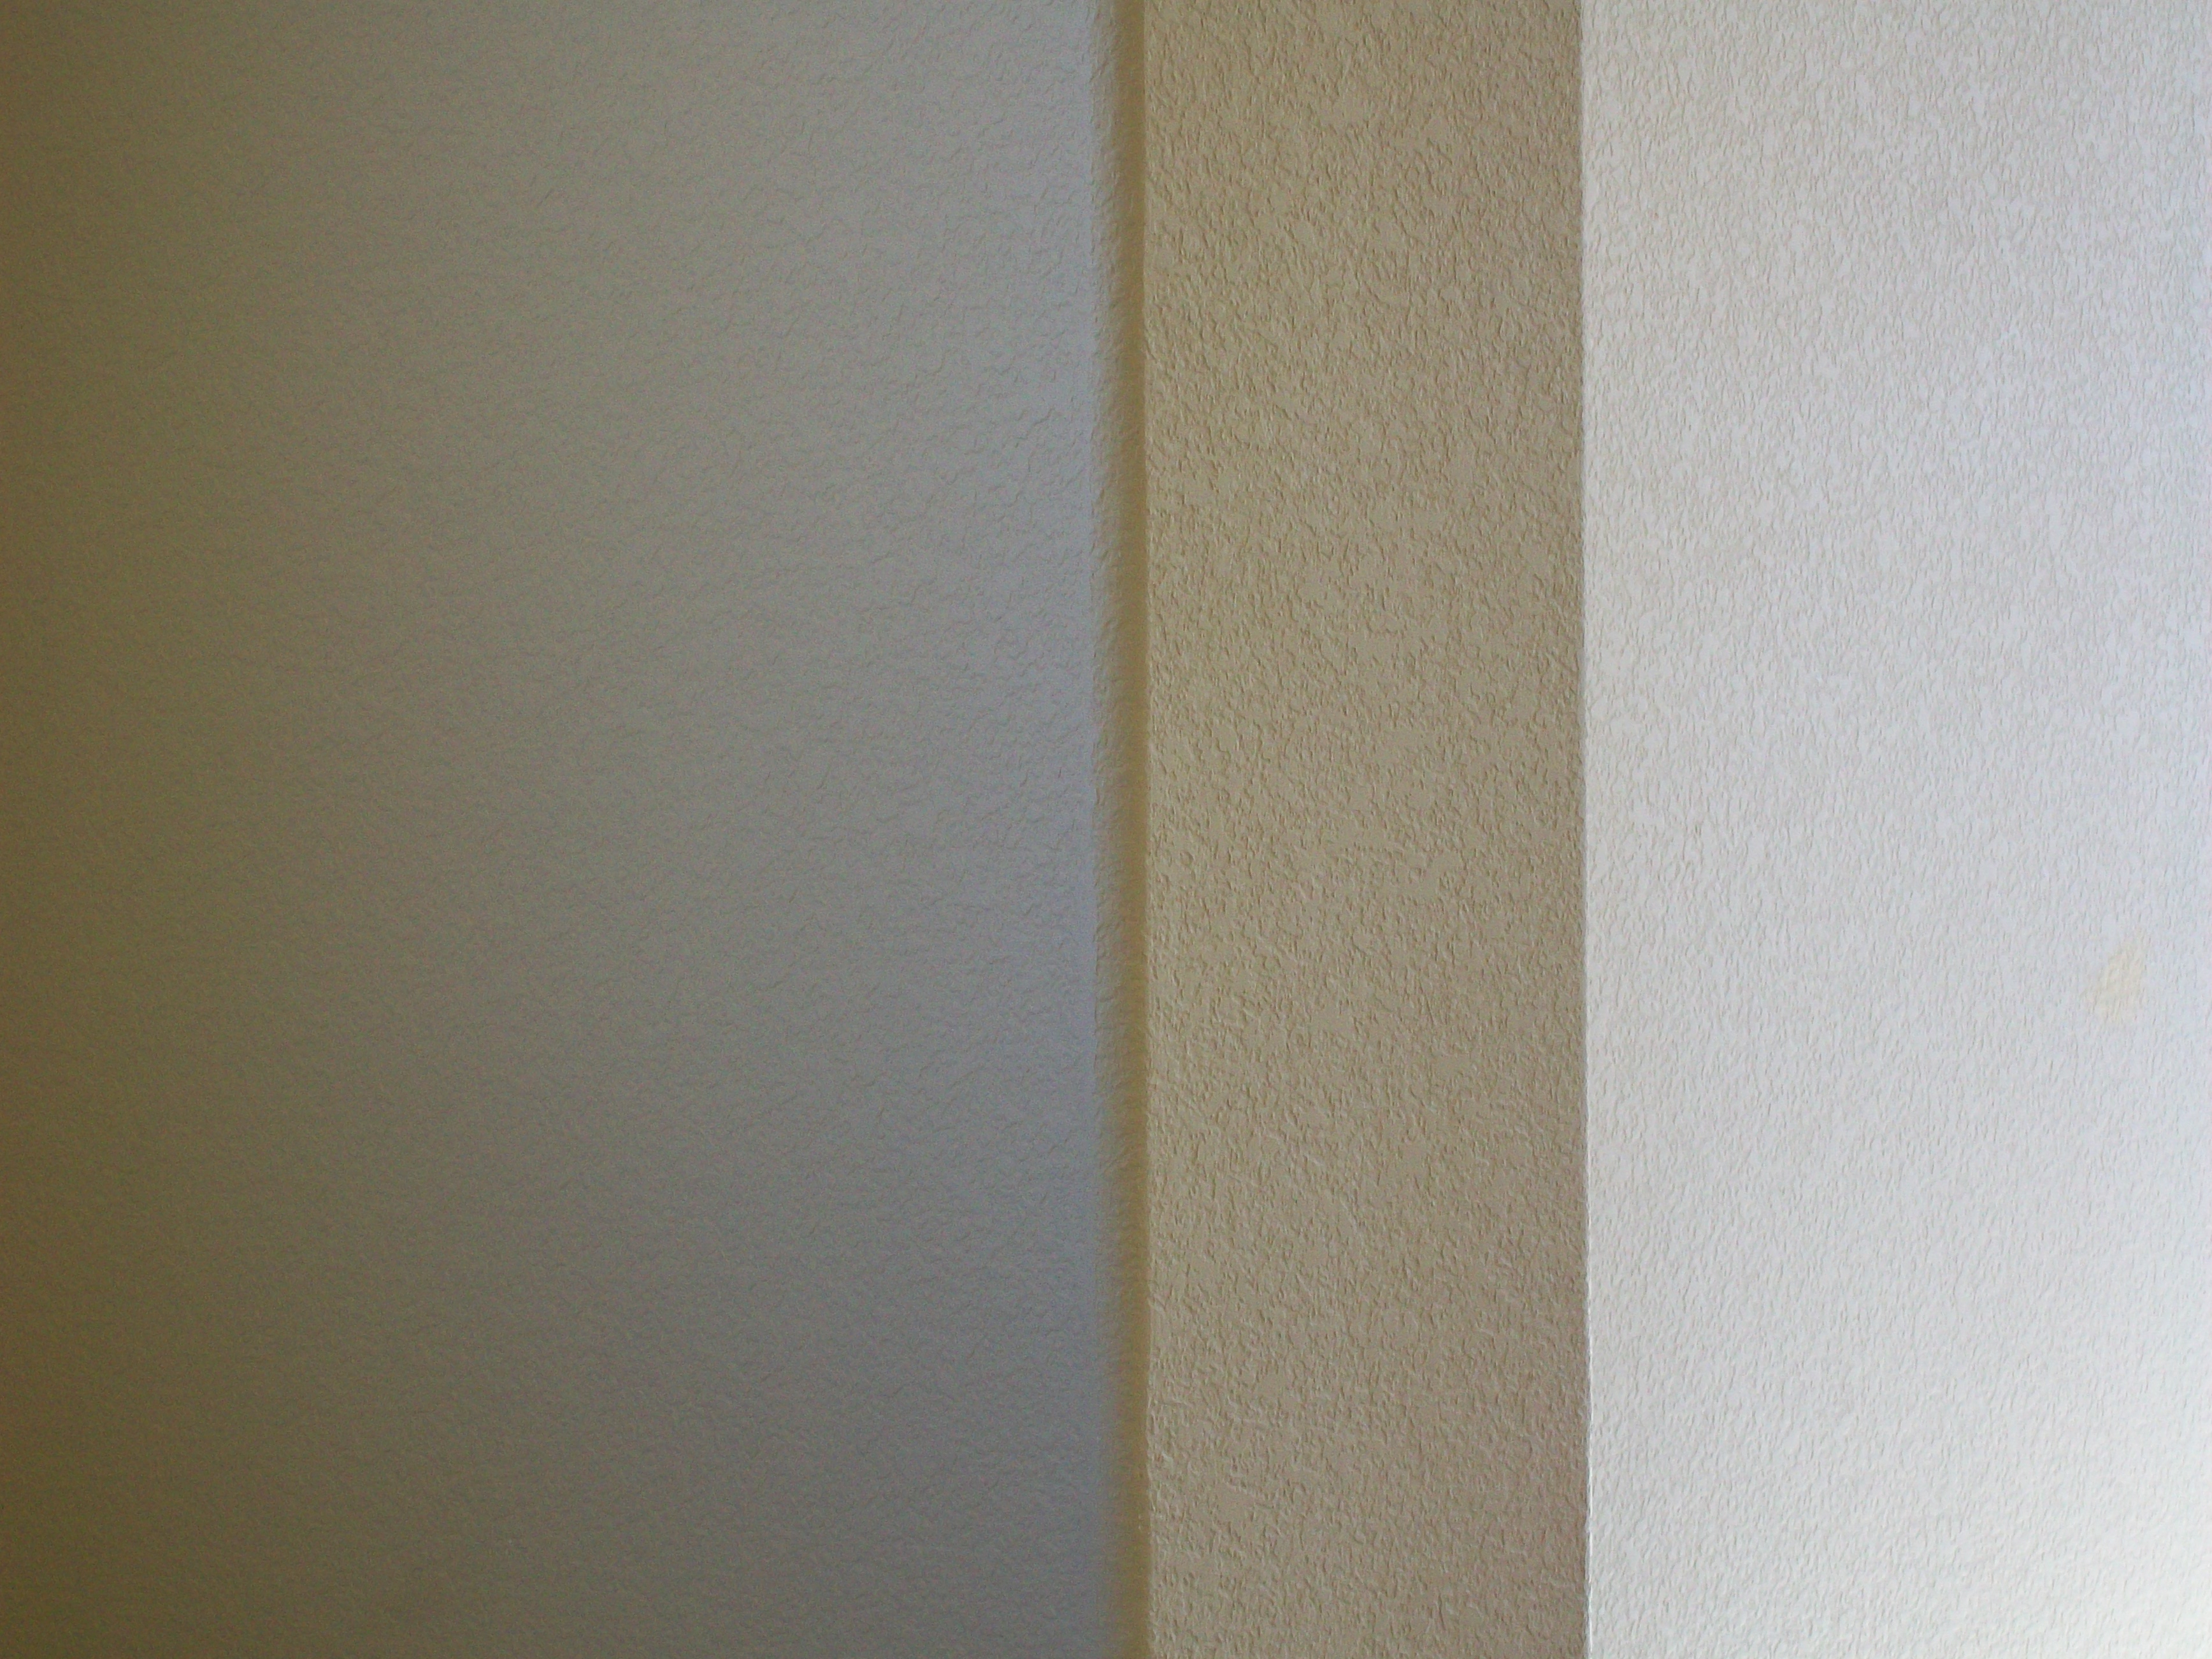 So looking at the photo on the right, you can see the definite ‘line on the left wall. That’s the wall we’ll use for our transition. We want our tape edge to follow the natural line that the light is creating on the left wall. remember, take it slowly and back up from time to time to ensure the line looks straight. Don’t worry about if the line truly is straight or not – it probably isn’t, as the walls were put up by imperfect humans. You just want to follow the natural line created by the construction. It will look straight anyway.
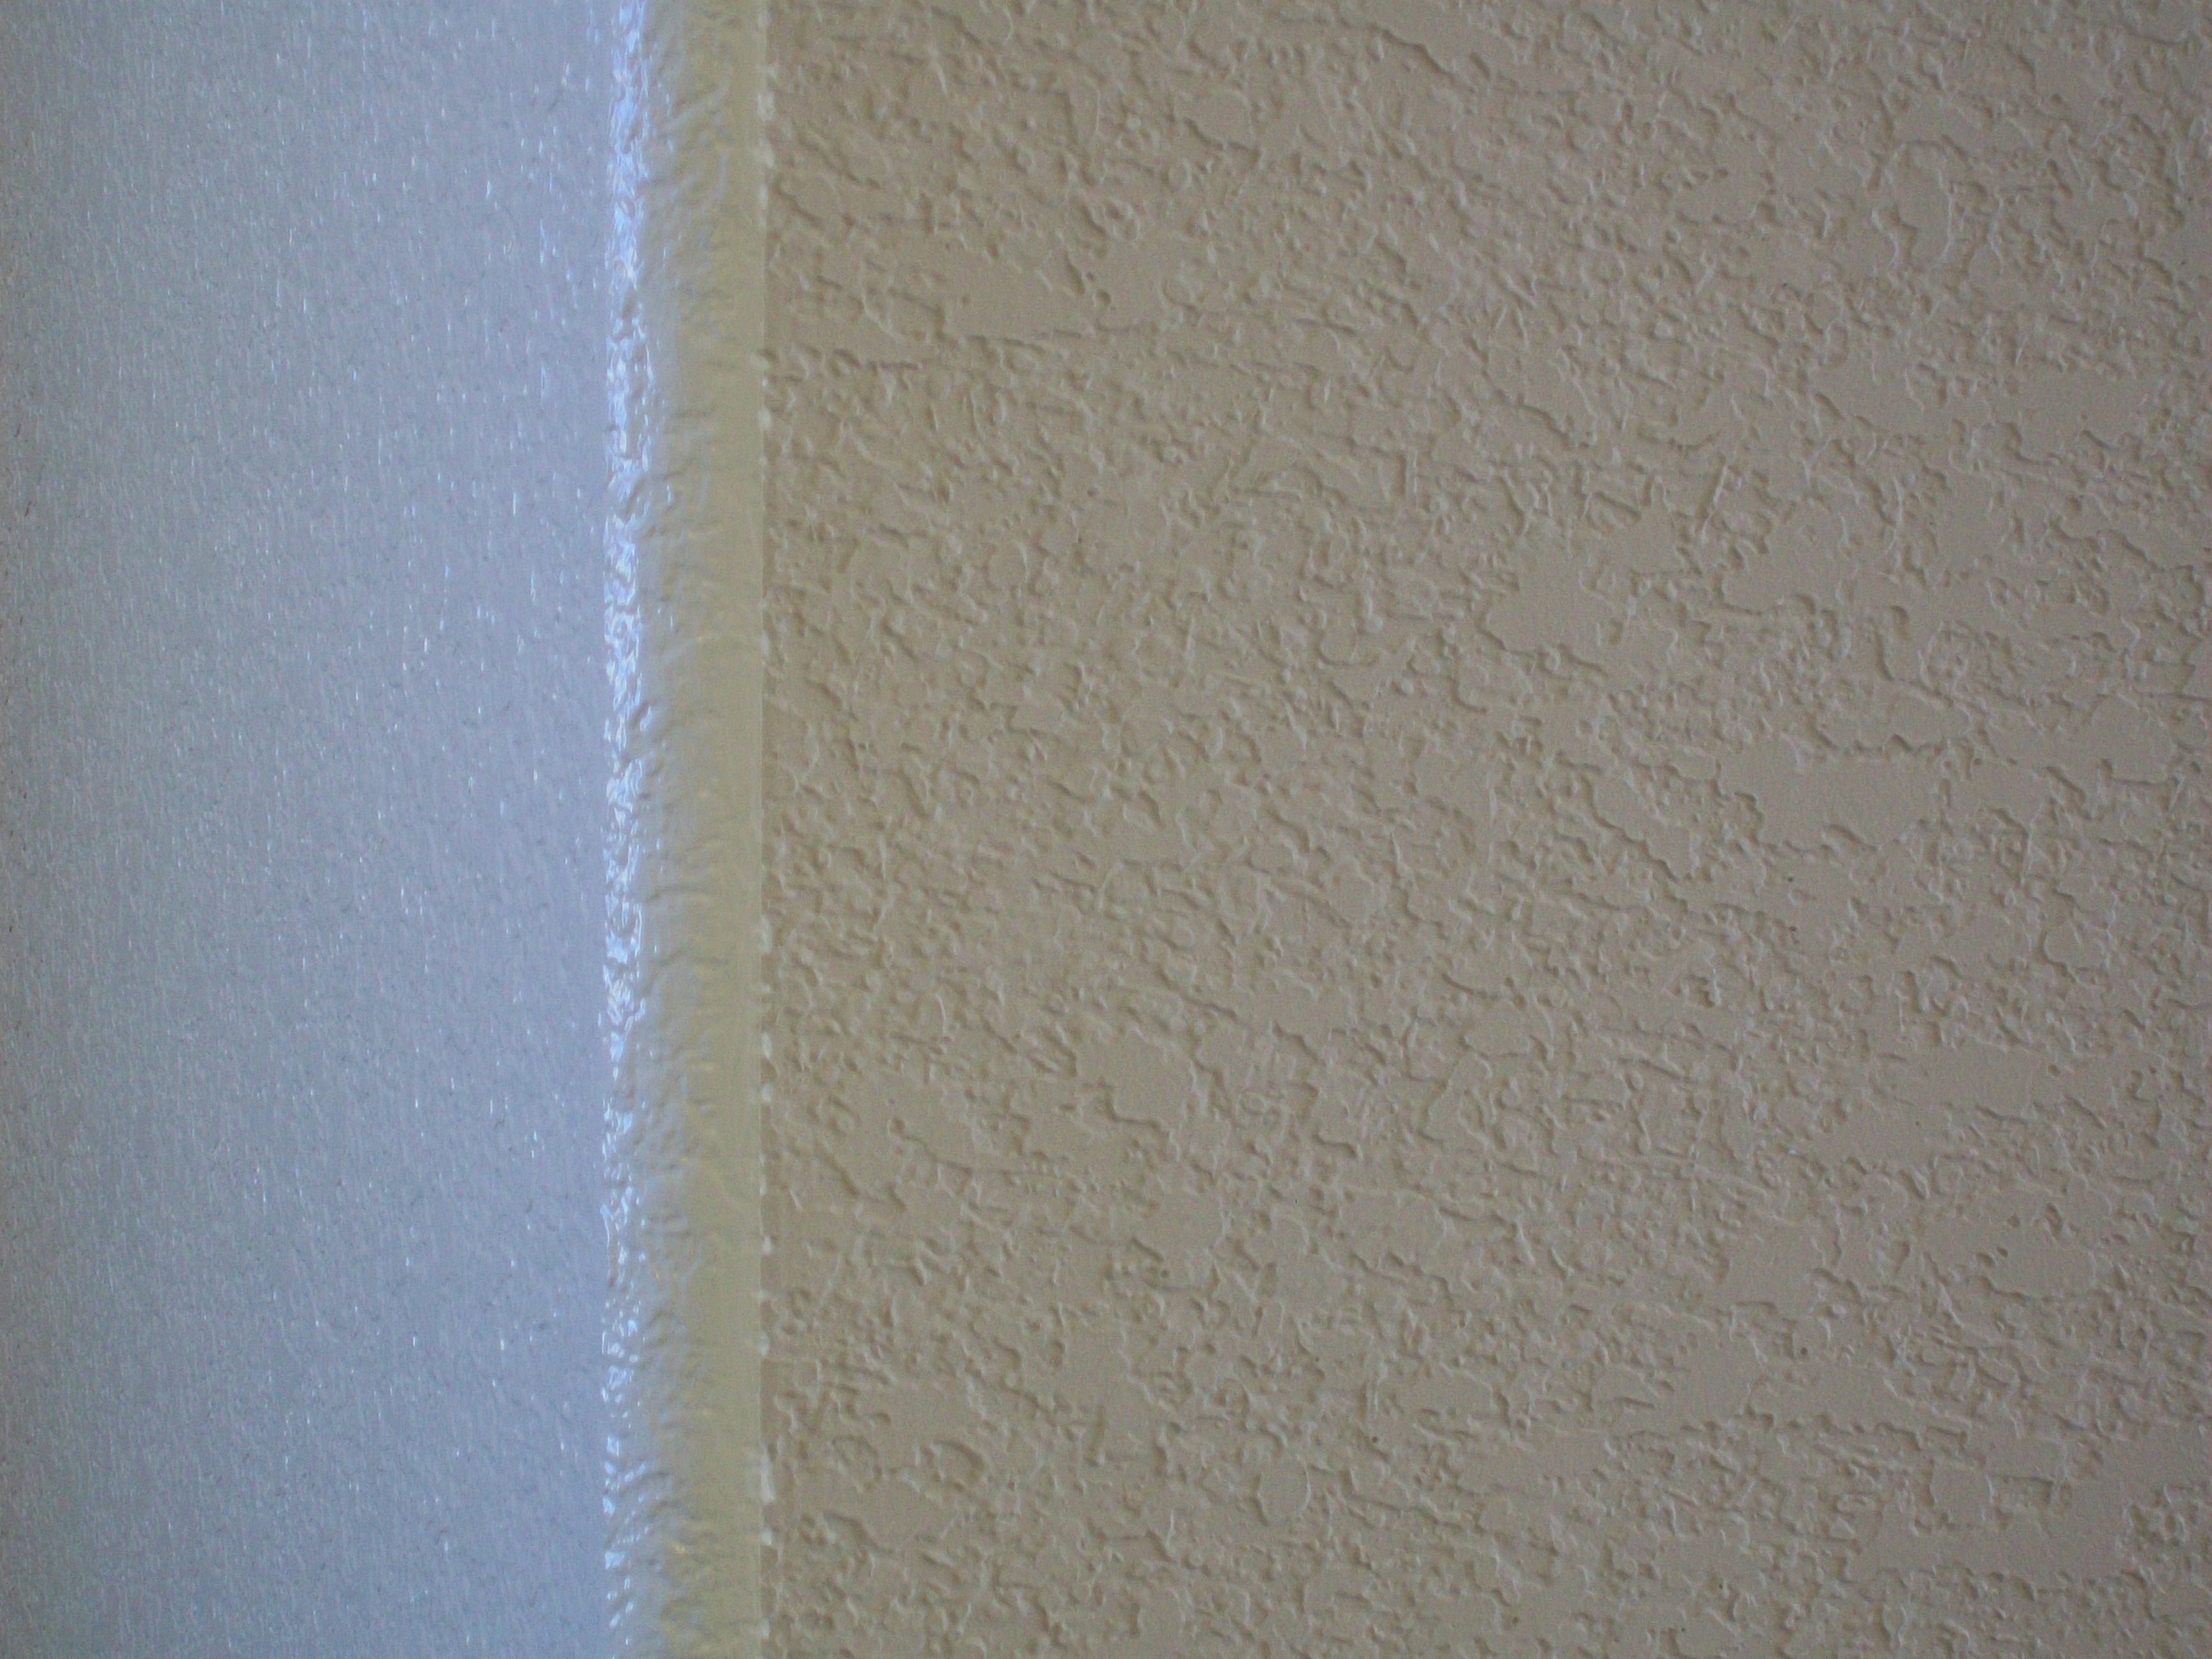
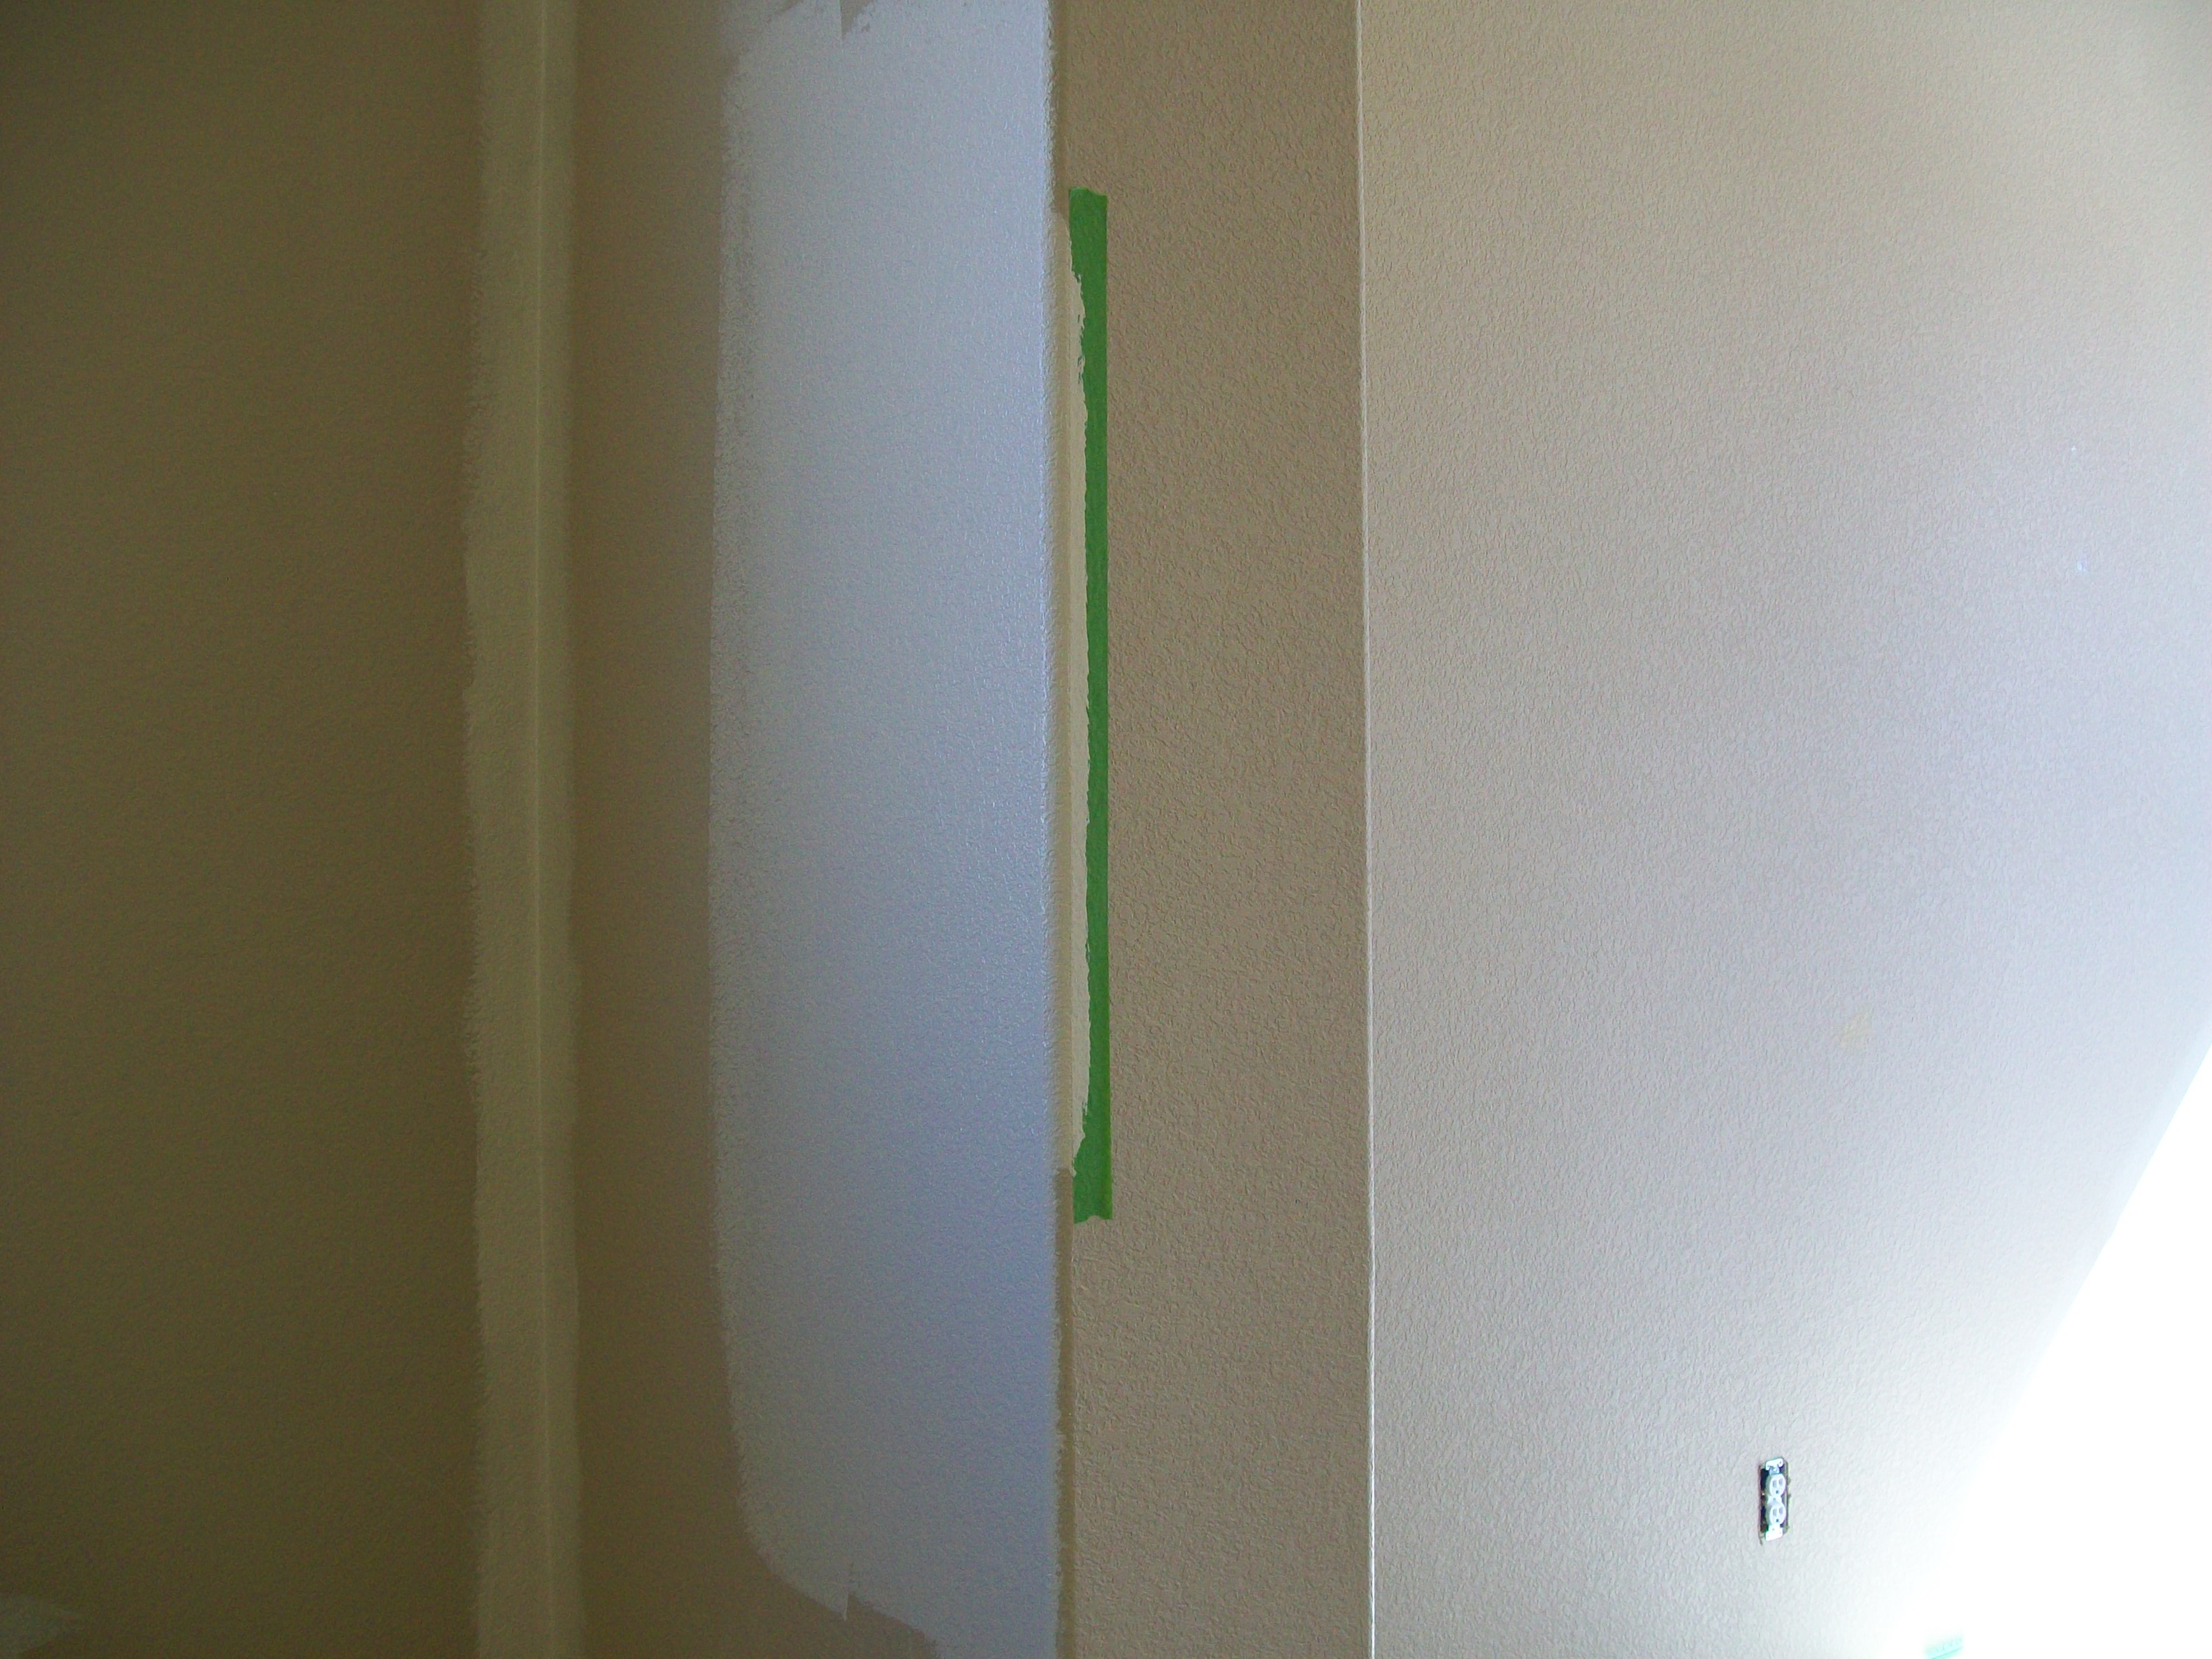
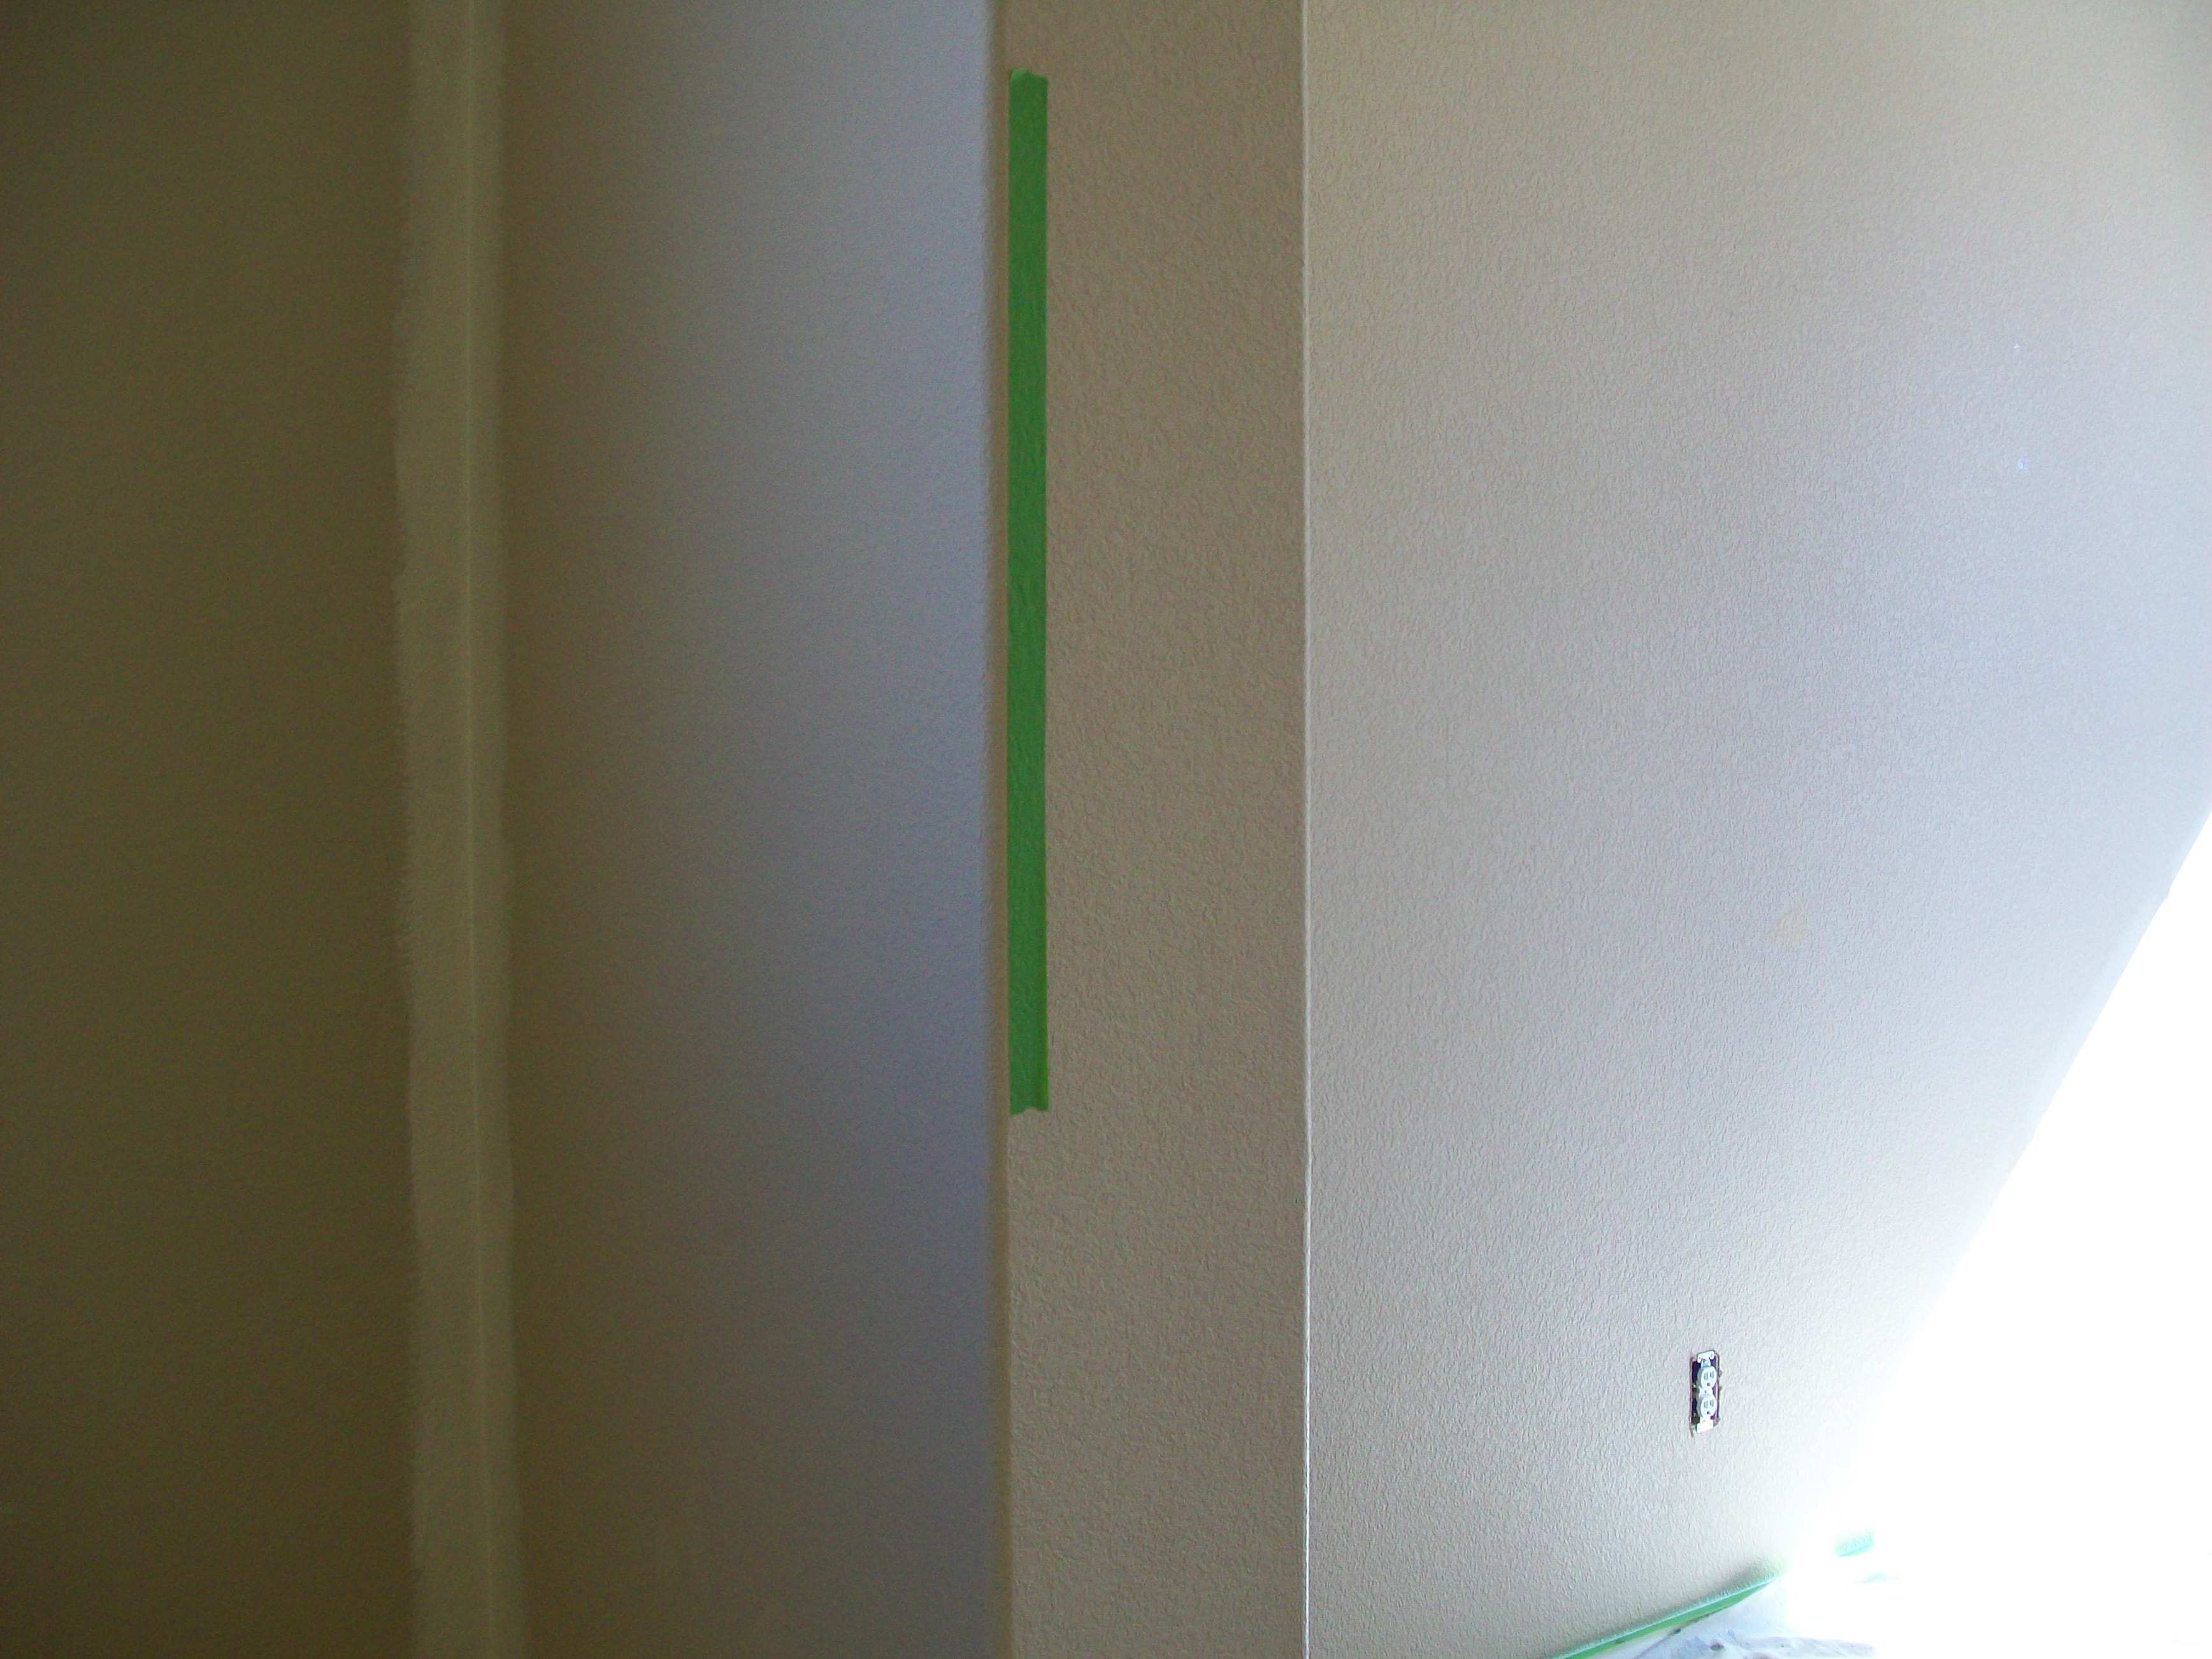 Here you can see a close-up of the corner showing how we followed the ‘light line’ down a section of wall. Notice how the tape follows the shadow down the wall. If your line doesn’t look quite right when you back up don’t be afraid to pull up your tape and try again! At this point we recommend you put a very thin line of caulking down the side of the tape you’ll be painting on. It helps seal the edge from any bleeding underneath so we have the ‘ruler edge’ when done. Since this is a demonstration wall we didn’t want to use caulk that might leave a line under our paint. You should be able to vaguely see the tape line after applying the caulking.
 Now it’s time to paint! If you’ve done your caulking correctly, there is no chance of paint seeping under the tape, so go ahead and roll right over the edge of the tape – just be sure not to roll all the way across to touch the bare wall on the other side. Allow the paint to dry for an hour or so, pull the tape and – viola ! A clean line between your two colors marking a straight edge on a round wall!
(Please keep in mind that, since these walls were actually going the same color, we were unable to caulk the edge of the tape due to the edge it would leave under the paint.)