


 How do you create horizontal lines without making a mess or drawing all over your wall, you ask? Why, like this of course! A laser level and blue tape. The same effect can be had using an old-fashioned chalk-line or even pencil if necessary, but the laser is the easiest with the least mess. We already applied the lighter base coat the day before, so let’s get started!
Start by determining your line width – we made 12-inch lines with the odd width at the bottom. Measuring down from around the same spot (your ceilings aren’t perfectly level), we followed our laser line with blue tape to minimize damage to the lighter base coat applied the day before. (Hint: make sure to run your tape on the outside of your stripes)
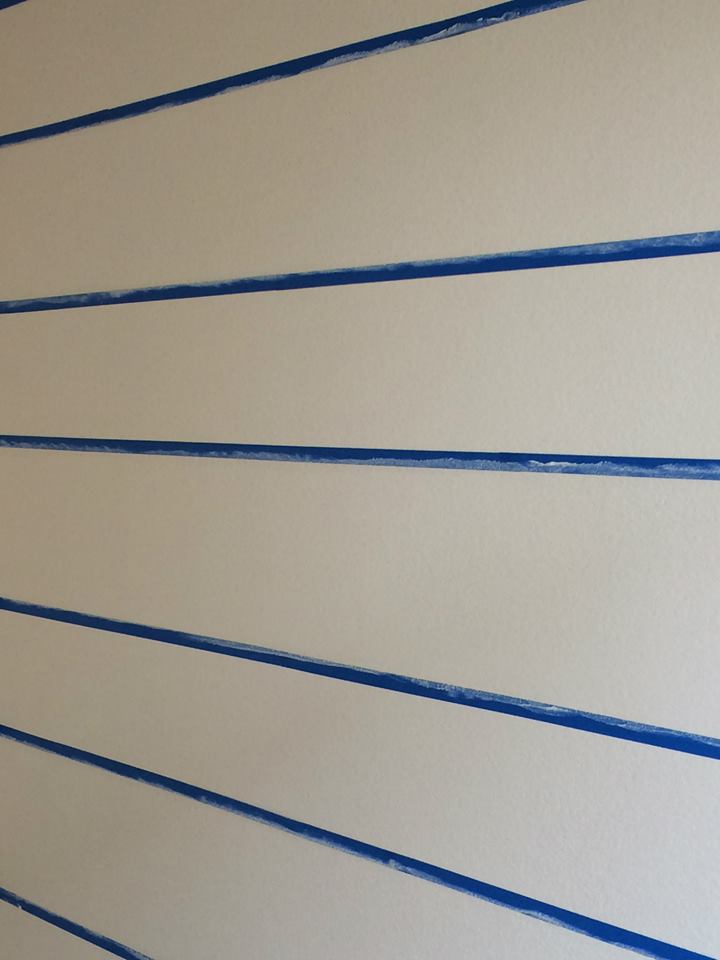 If you’ve done your taping correctly, the widths will look uneven in width since the tape is on the outside of the lines. To seal the inside edges of the tape run a very thin line of caulk and smooth it until you see the edge of the tape. Keeping the caulk thin makes it easier to pull the tape off cleanly. Again, make sure you’re caulking on the correct side of the tape! Otherwise your hard work painting the base
 coat will have been for nothing as you’ll have to repaint to cover the caulk. You’ll want to wait 30 minutes to allow the caulk to dry before you begin painting.
After your paint sets up remove carefully remove the tape. Don’t wait more than an hour or so as the caulk can harden and cause the paint to tear unevenly at the lines.